 Skip to content
Users can only be created and managed within the CloudPhone interface. Once you have created users, you can now assign devices, numbers and create user groups.
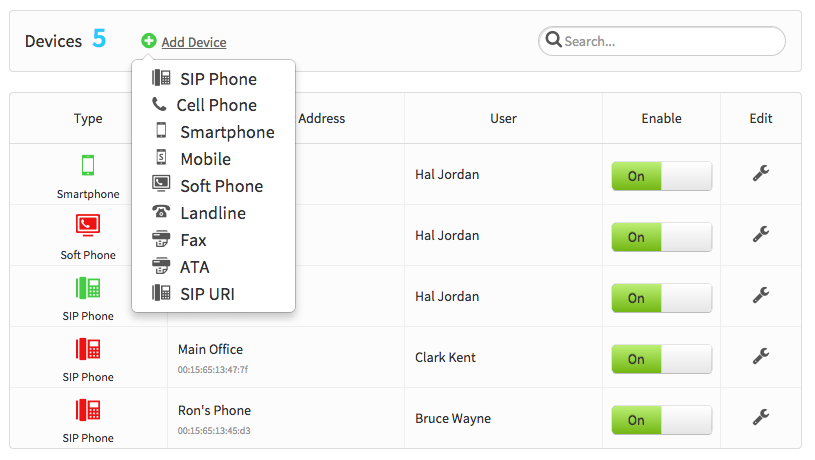
Add SIP Device
Within the Devices section of CloudPhone, click on the “Add Device” button. It will then create a dropdown, then select “SIP Device.”
Select Make and Model
This will bring up the brand selection, select the logo of the manufacturer of the device. Once the manufacturer has been chosen, available models will be displayed along with a picture of the device to provide easy identification. If you do not see your manufacturer or model, you will need to manually provision your device.
Enter MAC Address
Clicking the image of the device will prompt you to enter the MAC address and create a name for your device. The MAC address is on the back of your SIP device. Next, plug in your power cord and jack and power up the device.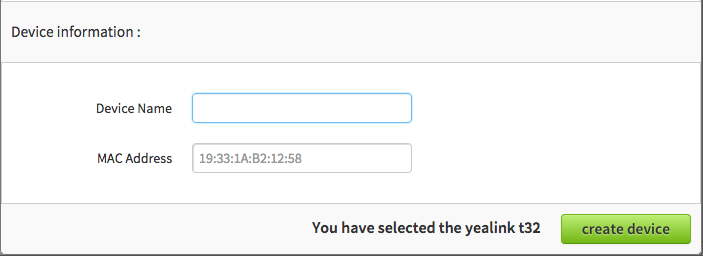
Obtain Phone’s IP Address
We’ll show you how to provision a Yealink device, but this is similar for most devices. Here is the selection of devices you can autoprovision. Polycom | Yealink | Cisco
The IP address for a Yealink device can be found on the device itself. In order to provision a Yealink phone, you will first need to get its IP address in order to access the phone’s web interface. The IP address on Yealink devices can easily be found by pressing the OK button on the phone. You should see a line with, for example: “IP: 10.10.9.88”. Please make sure that your device jack is plugged in. If it is not plugged in, it will read IP: 0.0.0.0.
- Reset to Factory Settings
Please also make sure that you have reset your device to factory settings. To do so, select “OK” and hold down for six seconds. The device will ask if you want to reset to factory settings, select “OK.” - Enter the IP Address and Login
In your browser, enter this IP address. When logging in for the first time, the default username is admin and password is admin.
The page should look something like this: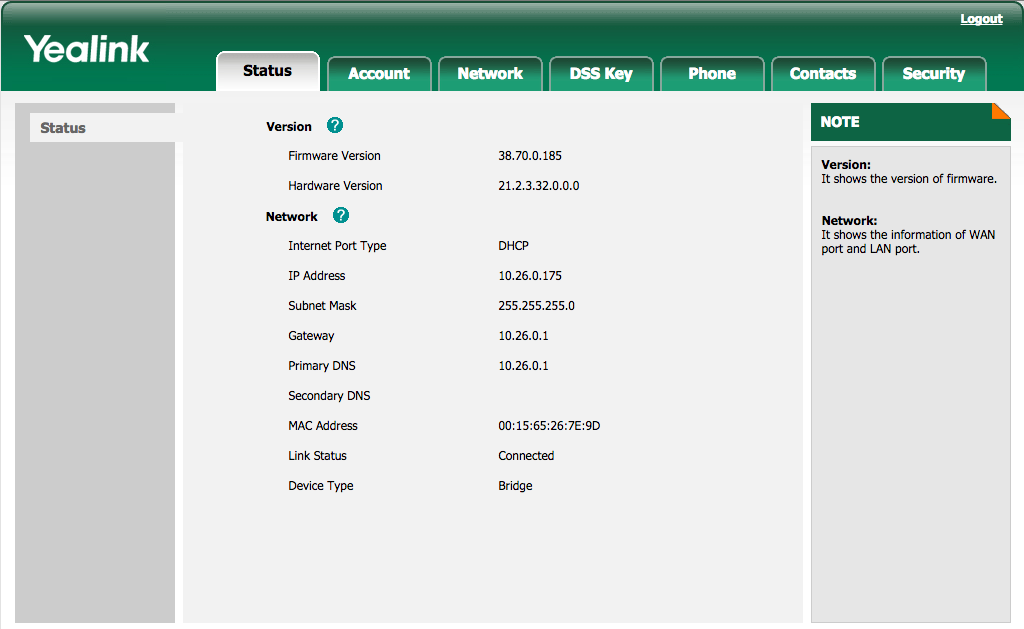
Autoprovision Device
Most of the information as you will see has already been pre-populated. You’ll need to click lick on Settings on the top tab, then click on Autoprovision on the left sub-tab. In the “Server URL,” input the provisioning url (for beta the URL is http://p3.zswitch.net/). Please remember to enter in “http://” beforehand!). Click “Confirm” on the bottom of the page, then “Autoprovision Now”. This may take up to a few minutes, but if done correctly, you’ll notice your device reboot as it is provisioning. You are now all set up. In the end, your page should look like this: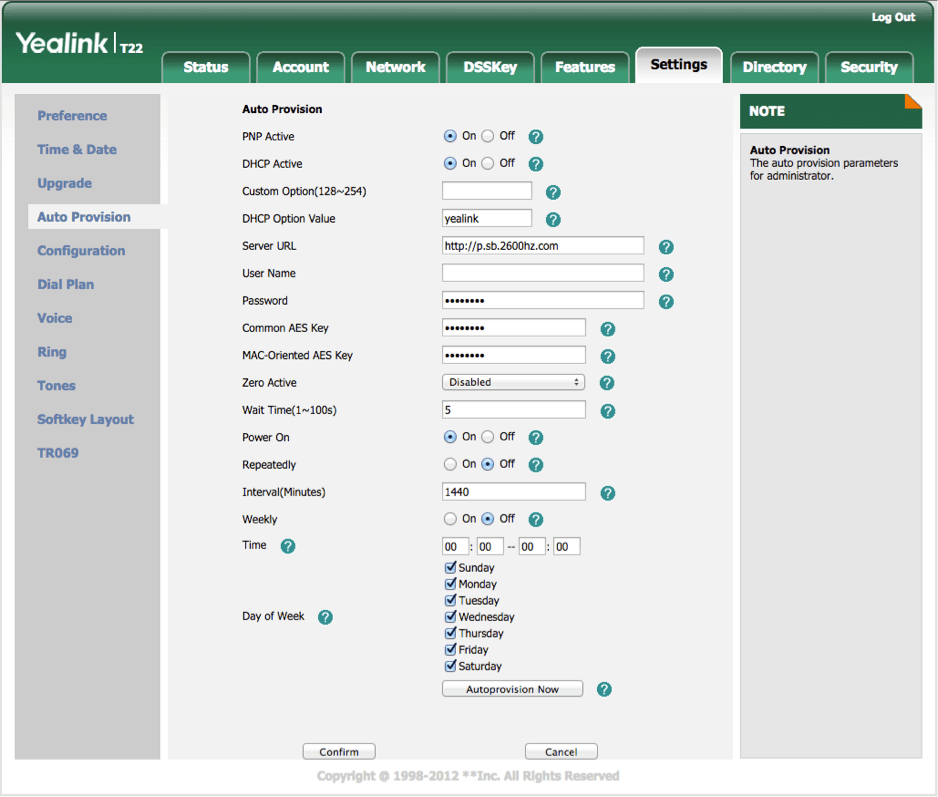
“Mosaic helped us get the best priced deal on an aggregate commit, while still keeping some flexibility in our carrier contracts, which was important to us. When we switched from static routing to using BGP, the Mosaic team was helpful at all stages of the process, and the migration went very smoothly. Mosaic has a helpful and technically proficient staff, and I have always had positive and technical communications with them. I highly recommend them.”
“Mosaic NetworX helped us navigate the murky world of data center network providers. We were able to negotiate one deal for two carriers and get a great rate in the process. When it came time to upgrade our connections for higher speeds, Mosaic was there to help us once again. They have gone above and beyond the call of duty to help our company accomplish its goals.”